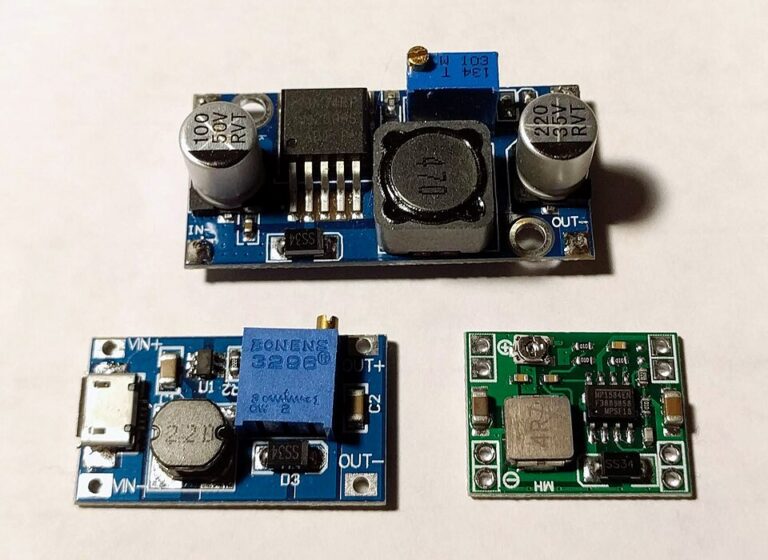
Set Up an LM2596 Buck Converter With a Multimeter
Set the output voltage, verify polarity and check the rail under load before powering a project from a higher-voltage DC supply.
Set the output voltage, verify polarity and check the rail under load before powering a project from a higher-voltage DC supply.
Measure voltage, current and temperature under steady load to find out where a small buck converter loses power.
Use a short oscilloscope ground connection and repeatable load conditions to distinguish rail ripple from measurement artefacts.
Translate a load’s operating current into a realistic DC supply estimate, then check startup, wiring and regulation margins.
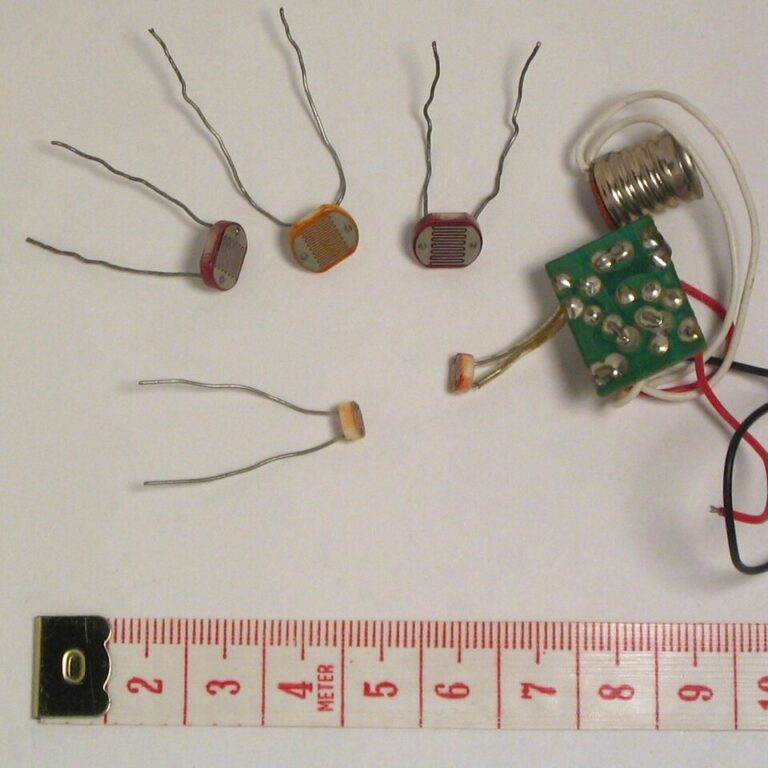
Turn a change in light into a measurable voltage and choose a resistor that gives useful readings in your workspace.
Set a light threshold in the real installation and reduce flicker around dusk with hysteresis and a short time delay.
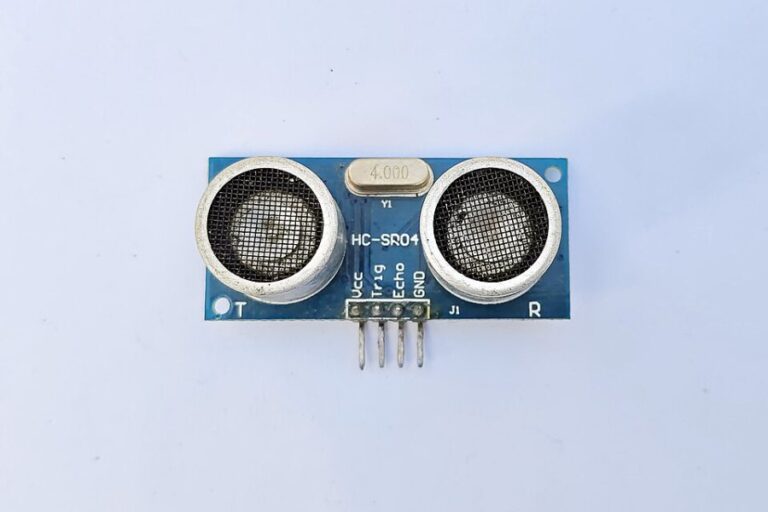
Trigger an ultrasonic reading, protect a 3.3 V input and diagnose unstable measurements on real surfaces.
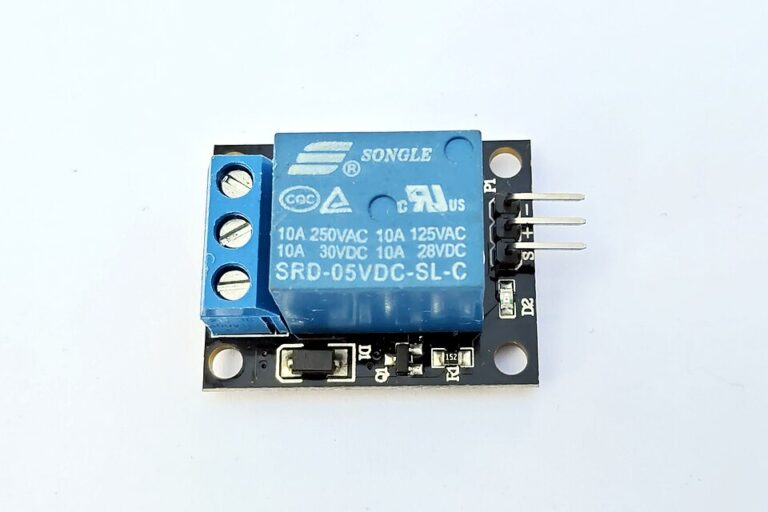
Identify COM, NO and NC, verify the control signal and wire a small DC load that powers up in the state you expect.
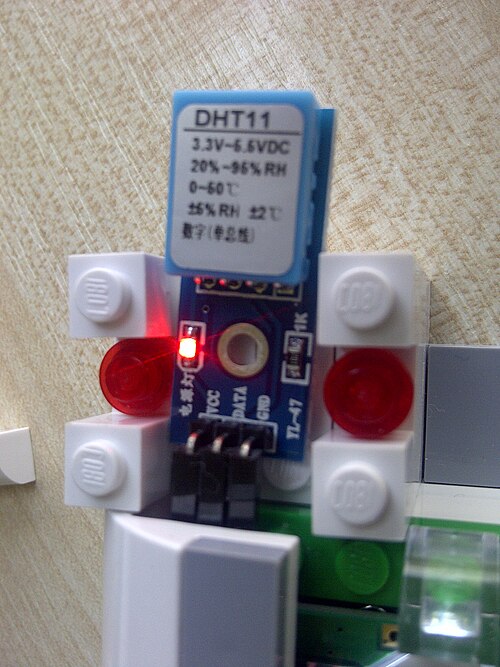
Wire a DHT11, choose a sensible sample interval and handle failed readings in a small indoor environmental monitor.